2. Theme Installation
Theme installation
Download the theme from your account (https://wpjobster.com/account/).
1. Go to Dashboard > Appearance > Themes > Add new > Add themes Install and Activate Jobster Theme.

2. Once you activate the theme, you will be prompted with the theme installation wizard.
 3. In this step, you will just need to click on the Start Button and it will take you to the next step where you install the child theme.

4. After the Child theme has been installed and you will go to the next step you wi have to select your license type and insert your license from your account.

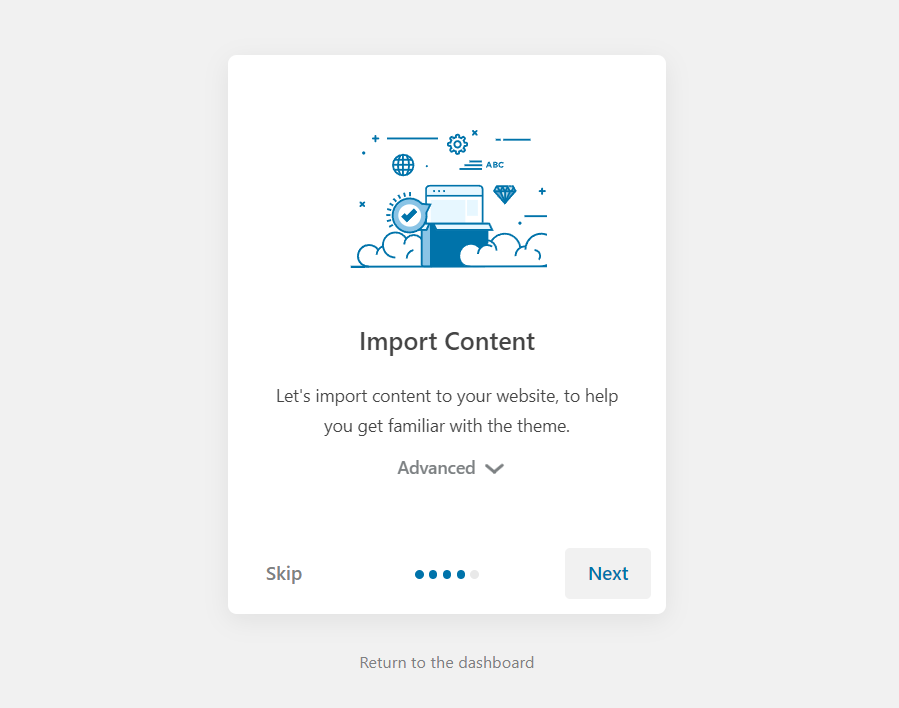
5. After you add your license and click on the Next Button you will see the next step where you install the plugins.

In this step if you click on the Advanced button it will show you all the plugins we recommend, you don't have to install them if you don't need them.

In case the above-mentioned way to upload the theme doesn’t work, please proceed as follows:
Go to cPanel > File Manager > public_html > wp-content > themes

> Upload the theme’s zip

> Extract the theme’s zip

> After extracting it, delete the theme’s zip

Go to your site > Dashboard > Appearance > Themes > Activate Jobster theme and then follow the steps from above.
